Women's Health June 22, 2020
 Women's Health
Beauty
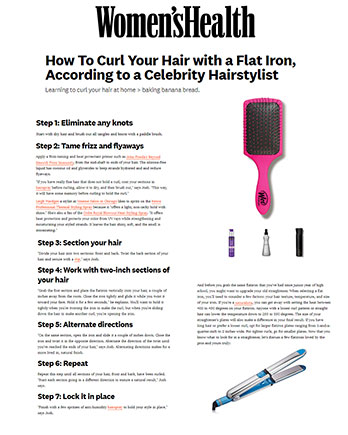
How To Curl Your Hair with a Flat Iron, According to a Celebrity Hairstylist
Learning to curl your hair at home > baking banana bread.
Whether you don't have a curling iron, forgot your curling iron, or are simply intimidated by a curling iron, it's a good time to let you know that you can actually curl your hair with a flat iron. Yes, really! A hair straightener can get you some seriously bouncy curls—if you know the right techniques.
Harry Josh, the celebrity hairstylist to stars like Priyanka Chopra, Gisele Bundchen, and Karlie Kloss, is known for creating super sexy-yet-relaxed curls. Here, he breaks down exactly how to curl your hair with a straightener in seven easy steps:
Step 1: Eliminate any knots
Start with dry hair and brush out all tangles and knots with a paddle brush.
Step 2: Tame frizz and flyaways
Apply a frizz-taming and heat protectant primer such as John Frieda's Beyond Smooth Frizz Immunity, from the mid-shaft to ends of your hair. The silicone-free liquid has coconut oil and glycerides to keep strands hydrated and and reduce flyaways.
"If you have really fine hair that does not hold a curl, coat your sections in hairspray before curling, allow it to dry, and then brush out," says Josh. "This way, it will have some memory before curling to hold the curl."
Leigh Hardges a stylist at Maxine Salon in Chicago likes to spritz on the Kenra Professional Thermal Styling Spray because it "offers a light, non-tacky hold with shine." She's also a fan of the Oribe Royal Blowout Heat Styling Spray. "It offers heat protection and protects your color from UV rays while strengthening and moisturizing your styled strands. It leaves the hair shiny, soft, and the smell is intoxicating."
Step 3: Section your hair
"Divide your hair into two sections: front and back. Twist the back section of your hair and secure with a clip," says Josh.
Step 4: Work with two-inch sections of your hair
"Grab the first section and place the flatiron vertically onto your hair, a couple of inches away from the roots. Close the iron tightly and glide it while you twist it toward your face. Hold it for a few seconds," he explains. You'll want to hold it tightly when you're twisting the iron to make the curl, but when you're sliding down the hair to make another curl, you're opening the iron.
Step 5: Alternate directions
"On the same section, open the iron and slide it a couple of inches down. Close the iron and twist it in the opposite direction. Alternate the direction of the twist until you've reached the ends of your hair," says Josh. Alternating directions makes for a more lived in, natural finish.
Step 6: Repeat
Repeat this step until all sections of your hair, front and back, have been curled. "Start each section going in a different direction to ensure a natural result," Josh says.
Step 7: Lock it in place
"Finish with a few spritzes of anti-humidity hairspray to hold your style in place," says Josh.